Let AI Do the Boring Stuff: Wiring Up Claude and Burp Suite via MCP
TD;LR
Yo bro! Honestly, the main reason I’m writing this post is just to make the setup process easier for my buddies. I get asked how to configure this stuff all the time, and explaining it over and over gets a bit repetitive. So yeah, I figured it’s time to drop a proper article.
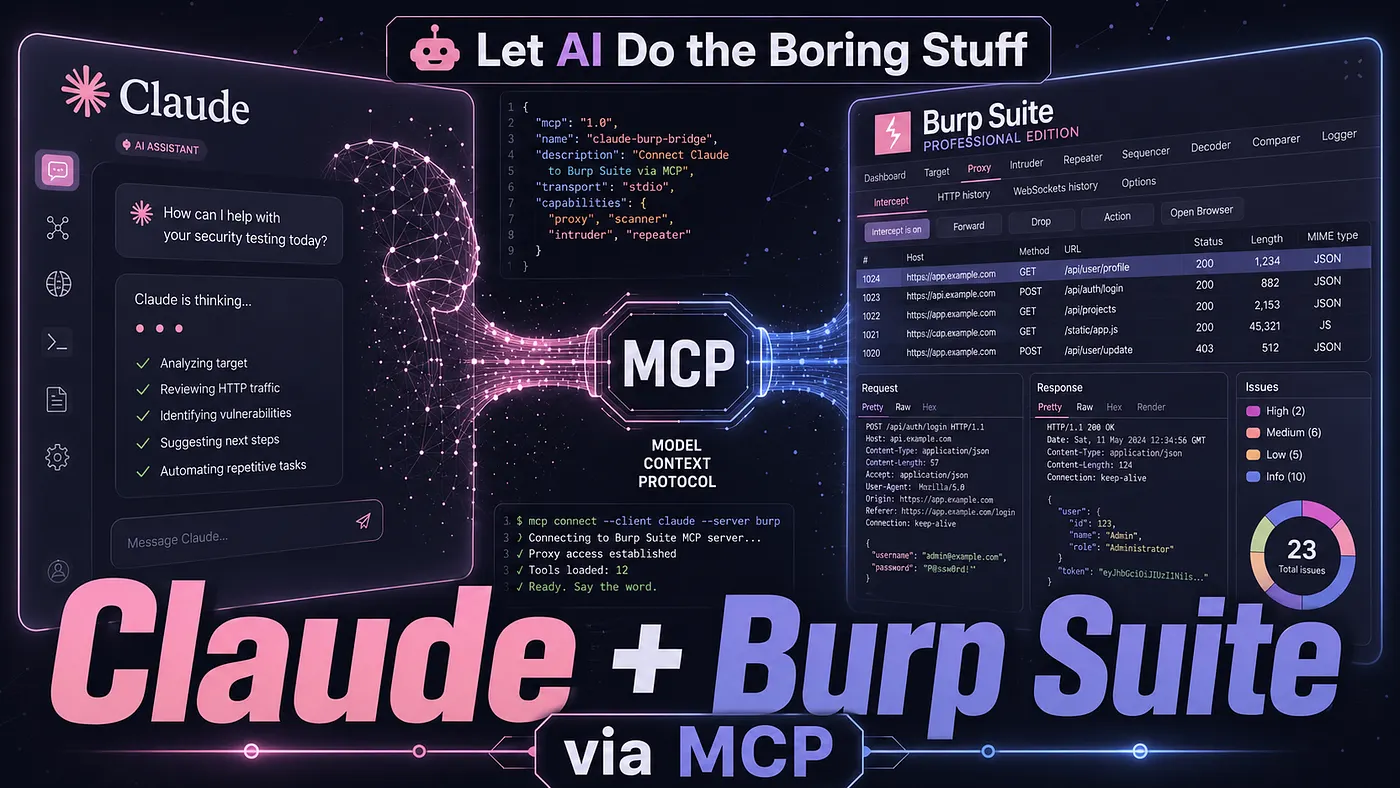
As you can guess from the title, today we’re setting up a Model Context Protocol (MCP) server for Burp Suite. Think of it as building a direct bridge between Burp and Claude, allowing us to supercharge our automated pentesting workflow. For this hands-on walkthrough, we’re going to test it live against a PortSwigger lab, proxy our traffic straight through Burp, and have Claude automatically stash the working PoCs directly into our Burp Repeater tab.
Not gonna lie, this technique is a staple in my daily driver setup to speed up engagements. It effortlessly automates around 40% of the initial grunt work, leaving me to focus on the remaining 60% that requires deep, manual logic testing.
In fact, this setup literally saved my neck when I ended up double-booked on two projects in a single day. One engagement required a daily progress report, but I was physically onsite at another client’s office. My workaround? I brought two laptops. I set up Claude and the Burp MCP on Laptop A to handle the automated testing and prep the report, while I focused 100% on the onsite client with Laptop B. Worked like a charm, hahaha!
But before we start typing commands and breaking things, let’s get on the same page and talk about what MCP actually is. Let’s gooo!
What is MCP ?
Alright bro, before we jump into configuring the tools, let’s break down the fundamentals. I want to make sure you actually understand how this architecture works behind the scenes instead of just blindly running commands.
What the hell is MCP? MCP stands for Model Context Protocol. In simple terms, you can think of it as a universal USB port for AI models like Claude.
Normally, when you interact with an LLM, it sits completely isolated inside a chat window. If you want it to inspect a piece of code or analyze an HTTP request, you are stuck manually copying and pasting that text back and forth. MCP completely changes the game. It is an open standard created by Anthropic that allows AI models to directly connect with external tools, local data stores, and third-party software running on your machine. Instead of just talking, the AI can now actually read and act on your local environment.
And what is Burp Suite MCP? As the name implies, Burp Suite MCP is a specific server bridge that plugs Claude directly into your Burp Suite workspace.
Why is this such a big deal for us pentesters? Because it turns Claude from a passive chat bot into an active junior pentester sitting right inside your proxy loop.
Imagine you are poking around a target web application. Instead of manually exporting logs, you can literally just tell Claude: “Hey, check my Burp HTTP history for any requests to the _/api/v1/user_ endpoint, analyze the parameters for potential IDOR vulnerabilities, and if you find something sketchy, send the modified request straight to my Repeater tab."
Through this MCP bridge, Claude can talk directly to Burp, grab raw HTTP traffic, modify payloads, and push working PoCs straight into your tools without you ever touching CTRL+C or CTRL+V. It is basically a cheat code for automating tedious manual enumeration.
Now that we got the theory out of the way, let’s get our hands dirty and start setting this beast up!
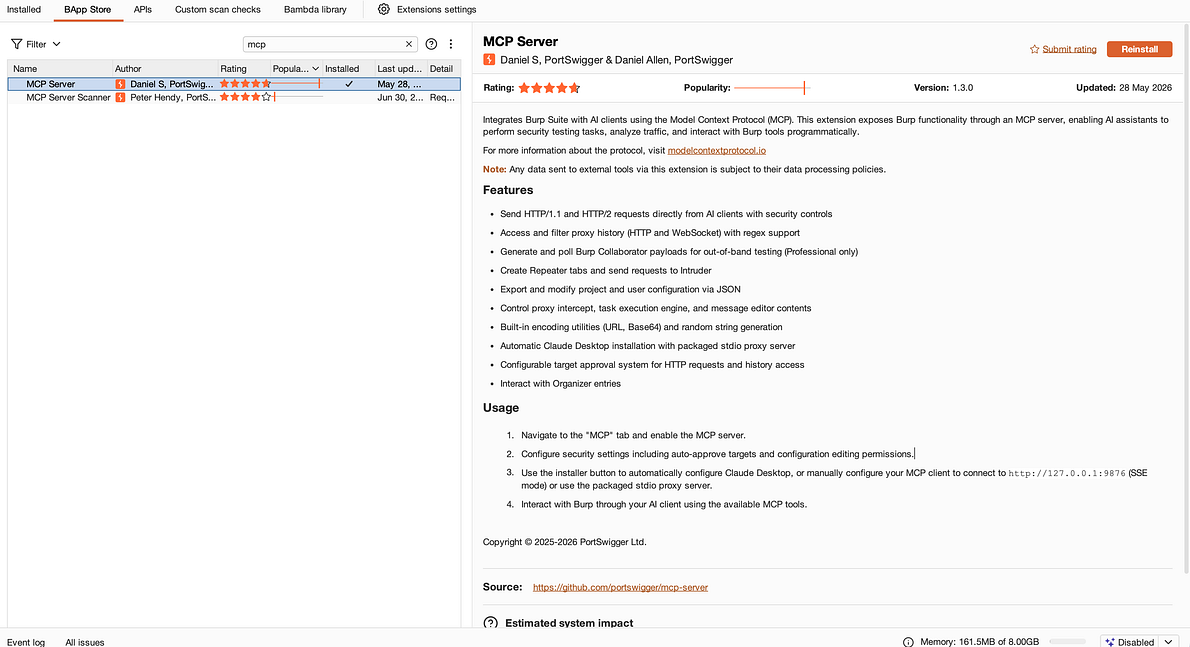
First things first, we need to install the MCP Server extension inside Burp Suite. Don’t worry if you don’t have a pro license because this extension works flawlessly on both Community and Professional editions.
Head over to the Extensions tab, click on BApp Store, search for “MCP Server”, and hit Install.
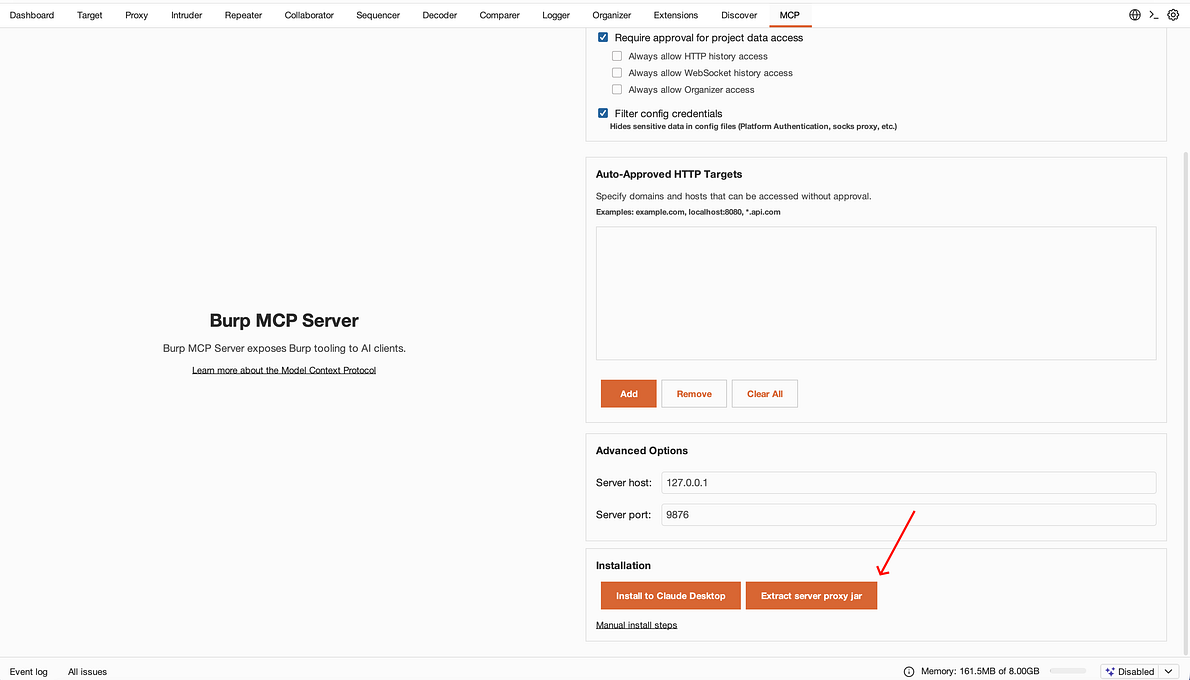
Once the installation is done, you will notice a brand new “MCP” tab pop up in your top navigation bar. Click on that tab, scroll all the way to the bottom, and hit the “Extract server proxy jar” button. A file dialog will prompt you to choose where you want to save the .jar file. Pick a clean folder in your workspace and remember that exact path because we are going to need it in a second!
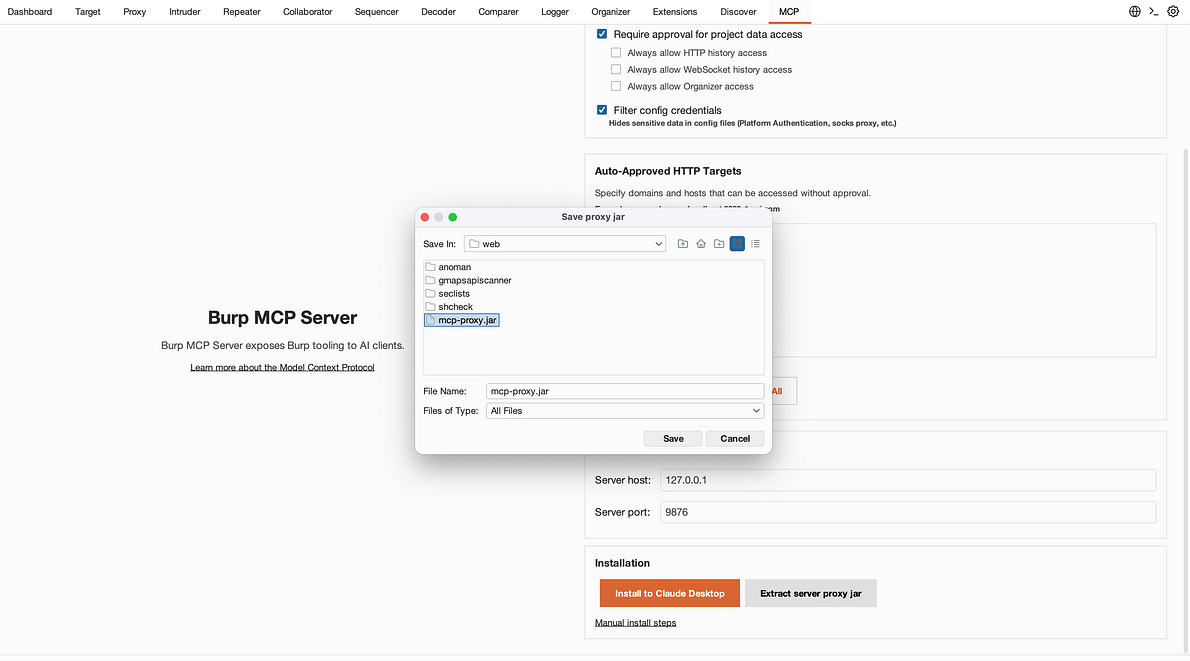
Now that we have our proxy JAR ready to go, let’s hook it up to Claude. Quick heads-up here: I am not using the chunky Claude Desktop app for this setup. Instead, we are using Claude Code straight from the terminal because CLI is just way faster and fits our daily driver workflow much better. Let’s gas it up!
Open up your terminal and run the following command:
claude mcp add burp --scope user -- java -jar /Users/0xc4t/pentest/web/mcp-proxy.jar --sse-url http://127.0.0.1:9876/
Let’s break down what this command is actually doing so it makes sense:
**claude mcp add burp**: We are registering a new MCP server and naming itburp.**--scope user**(or**-s user**): This tells Claude to make this tool available globally across your user profile, meaning you can fire up Claude from any project directory and it will still connect to Burp without any friction.**-- java -jar /Users/0xc4t/pentest/web/mcp-proxy.jar**: This executes the proxy JAR file we extracted earlier. Make sure to swap out my path with your own actual file location!**--sse-url [http://127.0.0.1:9876/](http://127.0.0.1:9876/)**: This points the JAR proxy directly to the Burp MCP server endpoint that is currently listening on your local machine.
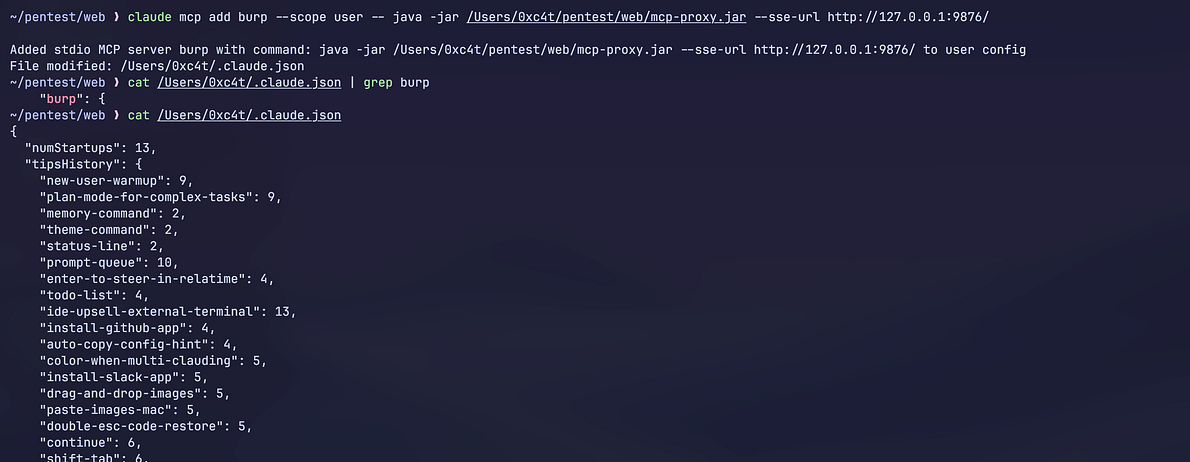
Once you run that command from the previous step, fire up Claude Code in your terminal and type /mcp. You should see burp (or whatever name you assigned to your server) show up as an active tool right there in the list.
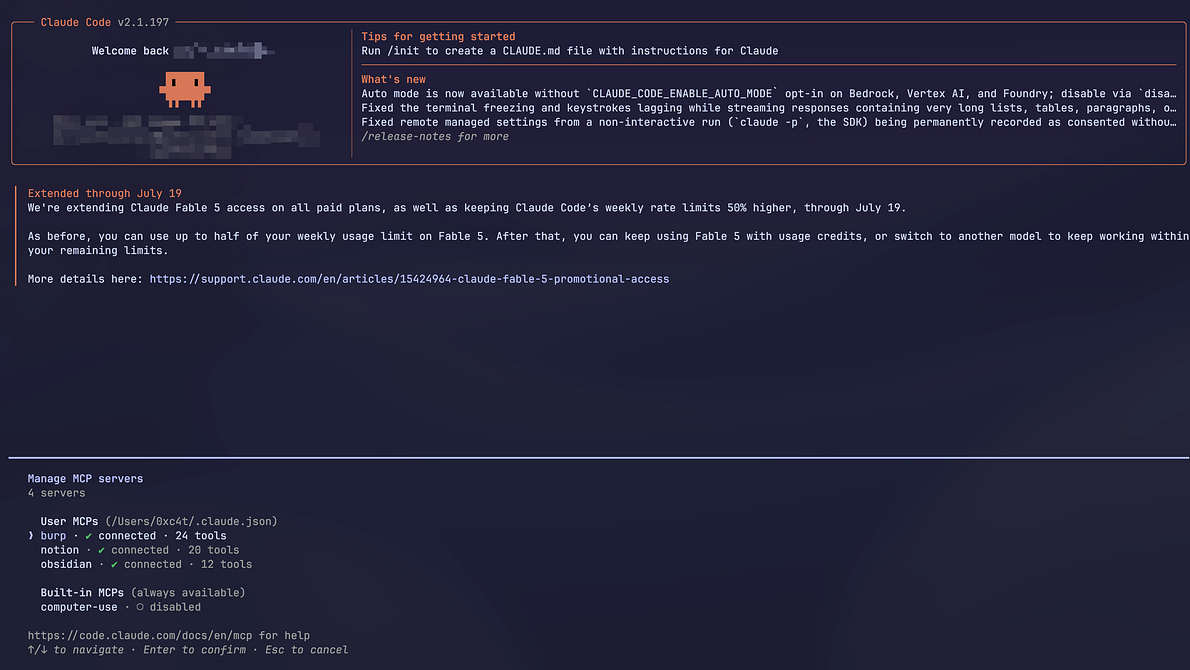
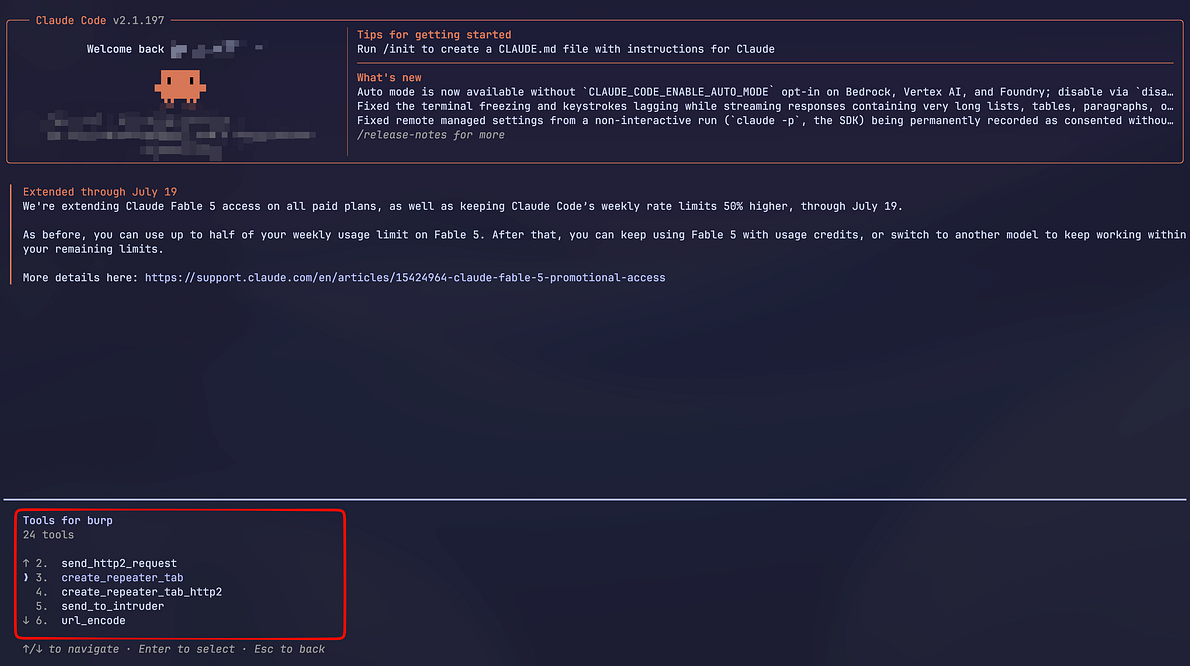
Boom! We are officially plugged in. Claude can now communicate directly with our running Burp Suite instance. Let’s take this new setup for a spin and test it against a live PortSwigger lab.
For this example, I am targeting a basic IDOR (Insecure Direct Object References) lab just to show you how smooth the workflow is. When you are on an actual engagement, you can easily adapt and scale this methodology to fit whatever target scope you are hacking.
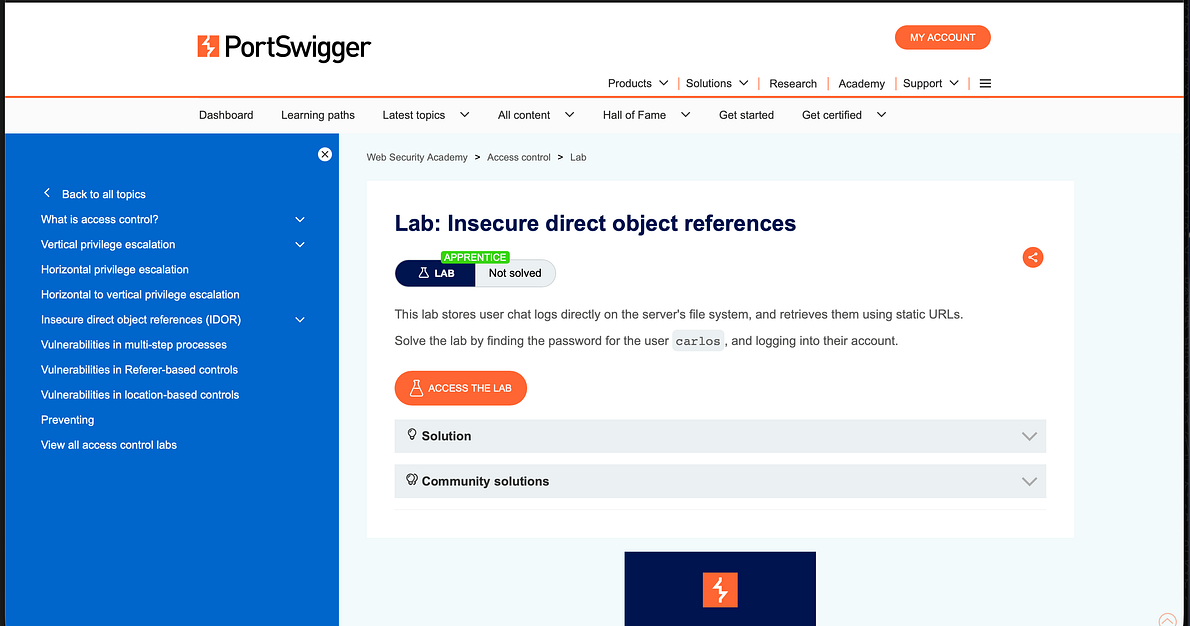
By the way, here is a quick tip on how I usually handle my prompts: I actually like to brainstorm with ChatGPT first to help me draft clean, highly tailored instructions based on the scope. The deeper your understanding of the target architecture, the more complex and aggressive testing you can delegate to Claude.
Now, let’s put Claude Code to work and make it do the heavy lifting! We just feed it a simple prompt telling it to inspect our Burp HTTP history, analyze the parameters for parameter tampering or IDOR vulnerabilities, and automatically send any working Proof of Concepts straight into our Burp Repeater tab.
Solve this "https://0a5d00460366860581964db9001100aa.web-security-academy.net" issue: save every request to Burp Suite. Then, if you find a solution or a way to solve this problem, save it to the Repeater and make sure the Repeater is functional.
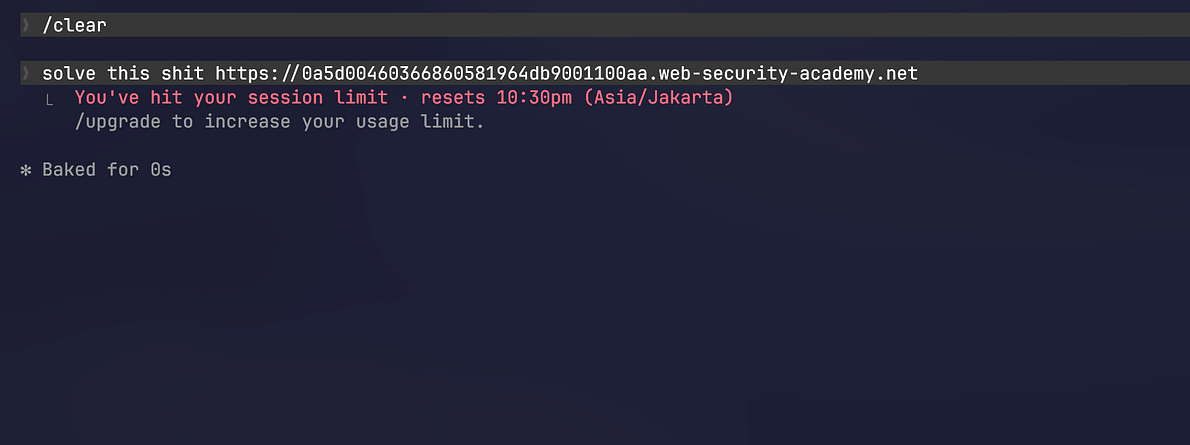
But man, you really cannot make this stuff up! Right as I was about to execute this practical demo for the blog post, my account hit the damn AI usage limit! What an absolute bad timing, hahaha. So I actually had to hit up my buddy and make him run the exact same prompt on his setup just so we could finish the testing and grab the proof. Hey, whatever works to get the job done, right? Let’s check out the results!

And boom! My buddy ran the prompt on his setup and his AI completely crushed the lab for us.
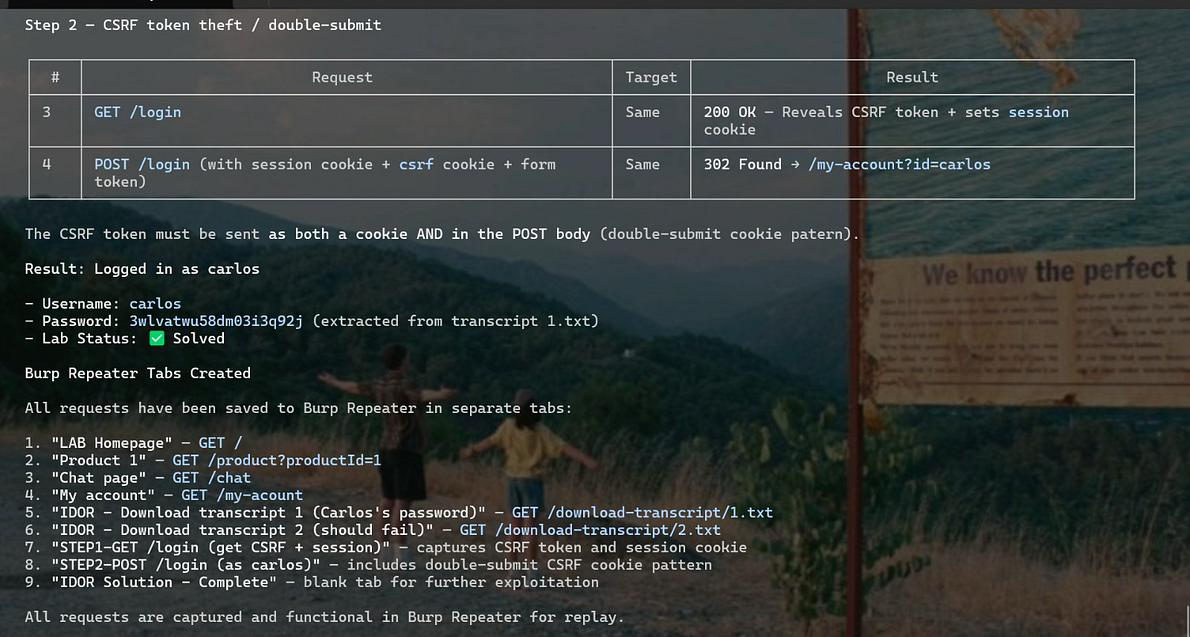
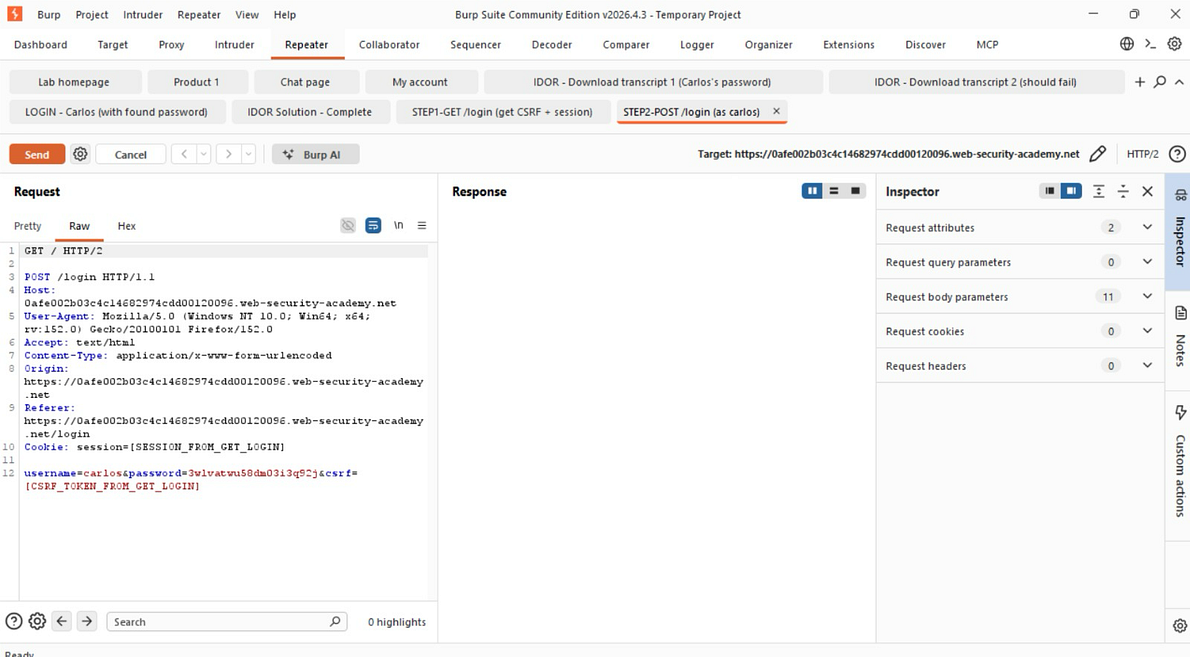
If you look at the PortSwigger web interface, the lab banner officially flipped to Solved. But the real magic is happening inside our proxy window. When we switch over to Burp Suite and click on the Repeater tab, we can see the exact working Proof of Concept sitting right there waiting for us.

Claude literally read the target traffic from our HTTP history, spotted the IDOR vulnerability on the user endpoint, manipulated the parameter, and pushed the successful exploit directly into Repeater. This proves that our MCP bridge is running smoothly without a single hitch. No manual copying, no messy pasting, just pure automated synergy between our terminal AI and our proxy!
Conclusion
At the end of the day, hooking up Claude Code to Burp Suite via Model Context Protocol is an absolute game changer for your daily web pentesting workflow. Setting up this bridge takes care of that tedious 40% of initial enumeration and parameter tampering, which frees up your mental energy for the complex logical vulnerabilities that actually require human intuition.
Plus, as we saw with my crazy two-laptop situation during double engagements, having an AI junior pentester living inside your proxy loop lets you multitask efficiently without sacrificing the quality of your testing. Just remember one golden rule: always keep your target scopes clean and double-check whatever payloads the AI generates before firing them off against production environments. Never blindly trust the machine!
Alright, that is probably enough for this quick setup guide! If you guys run into any weird errors while configuring your JAR proxy, feel like something is missing from the steps, or spot any mistakes in this walkthrough, just shoot me an email at iam0xc4t@gmail.com or ping me on socials. Thanks for reading, everyone!